
Hey there, guitar players! Have you ever felt like your acoustic guitar was harder to play than it should be?
If so, the problem may be the action.
Adjusting the guitar action is actually pretty easy – all you need are a few basic tools and some patience!
In this article, we’ll take a look at what causes high action and how to lower it on an acoustic guitar.
So let’s get started!
What Is Guitar Action?
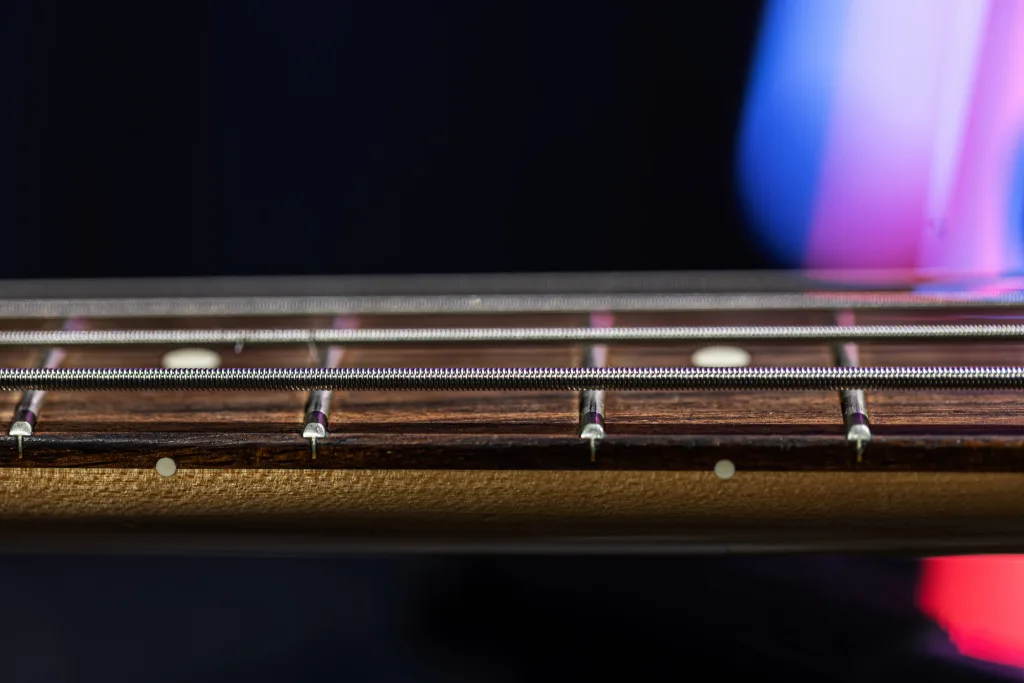
Guitar action is the distance between the strings and the fretboard on a guitar, and it can greatly impact how easily you can play chords and notes.
If your guitar’s action is too high, it’ll be difficult to press down on the strings without them buzzing against the frets; if it’s too low, then some chords may not sound as clear as they should.
What is the Ideal Action Height for an Acoustic Guitar?
The ideal action height for an acoustic guitar varies from player to player. Your action should be high enough that you don’t experience fret buzz while playing but low enough that it is comfortable and playable.
To determine this sweet spot of action, you’ll need to experiment with the truss rod adjustment on your guitar neck.
You may also need to adjust the bridge saddle height or use shims in order to achieve the desired level of action.
It’s important to remember that if your strings are too low, you’ll lose some volume and sustain in your tone; while if they’re too high, it’ll make playing more difficult and uncomfortable.
So take your time adjusting it until you find a setting that suits you best!
How To Lower The Action On An Acoustic Guitar
If your guitar’s action has gone out of alignment, it may require adjustments in various locations. Typically, tweaking the truss rod alone can resolve high or lower action.
However, in some situations, you may need to make additional adjustments to the nut and bridge of your guitar to bring back the desired playability.
What You’ll Need
You’ll need the right supplies and equipment to make sure your action adjustment is done correctly.
These are the essential tools:
- String Height Ruler – to determine the proper distance between the strings and the fretboard.
- Capo – necessary to raise the strings off of the fretboard while you adjust them.
- Neck Support – to hold your guitar in place while you work on it.
- Truss Rod Adjustment Wrench – to make small adjustments to the tension of your guitar’s neck.
- Nut Files – to adjust how close or far away your strings are from the fretboard.
- Painter’s Tape – can help protect any areas that may accidentally get scratched during adjustment.
- 600 Grit Sandpaper – to smooth out any rough spots along the fretboard after making adjustments.
How To Lower The Action by Adjusting The Truss Rod

To lower the action by adjusting the truss rod on your acoustic guitar, follow these steps:
Tune Your Guitar
To begin adjusting the action on your acoustic guitar, the first step is to ensure that your guitar is properly tuned. Having your instrument in tune is crucial for accurately assessing the flatness of the guitar’s neck, which is the second step in the process.
Check if The Neck is Straight
Check if your instrument’s neck is curved using a ruler or straight edge. This can usually be fixed by tweaking the truss rod.
Grab a guitar action gauge to measure your guitar’s action at both the 1st and 12th frets for an accurate result. Record the readings so you’ll have them handy when adjusting the truss rod later on.
Remember to use contractions.
Turn The Truss Rod 1/8 Of A Turn
Turn the truss rod a smidge – just an eighth of a full twist – and keep track of your progress so you can fine-tune it later.
This small adjustment is important when adjusting the action on an acoustic guitar, as too much of an alteration can damage the instrument and make it unplayable.
It’s best to start with this small adjustment before making any further adjustments to ensure that everything stays in good condition.
After turning the truss rod 1/8th of a turn, check the neck straightness again and measure the action once more to see if further adjustments need to be made.
Retune And Remeasure
Retune your guitar strings and take another look at the neck’s straightness and measurements to see if that tiny twist affected your setup.
After retuning, measure the action of the strings with a ruler from the top of the 12th fret to the bottom of each string.
Compare this measurement against the desired action on your guitar, taking into account any changes caused by turning the truss rod just 1/8 of a turn.
If you’re not happy with how it has changed, make another small adjustment and repeat these steps until you achieve your desired outcome.
How To Lower The Action by Adjusting Action At the Nut

To lower the action by adjusting action at the nut follow these steps to adjust the action at the nut:
Tune Your Guitar
Before making any meaningful changes, ensure your strings are singing in harmony – it’s not worth tweaking the setup if it’s out of tune.
Tuning an acoustic guitar is a bit more complicated than electric guitars because there aren’t any pickups to help with the process. By the way, we have a great guide on how to change pickup height. Feel free to check it out.
To begin tuning, start by adjusting the pegs at the headstock until each string produces a single note when plucked; then use an electronic tuner or smartphone app to fine-tune each string.
If you’re having trouble getting the pitch just right, check for buzzing frets or loose truss rod nuts and adjust accordingly before trying again.
Measure Action At The Nut
To measure action at the nut, place the feeler gauge between the string and the first fret, and then measure it with a ruler.
The standard measurement for an acoustic guitar should be about .030 inches. If your measurement is significantly higher than this, move on to filing the grooves in the nut.
Filing The Grooves
You’ll need to file the grooves in the nut if your feeler gauge measurement is significantly higher than the standard measurement of 0.5mm for electric guitars.
To do this, loosen one string so you can pop it out of its slot on the nut and then place a file or edge in the slot at an angle similar to that of the guitar’s headstock.
It’s important to take caution when filing as only a very little needs to be done at a time; going too deep will ruin the nut.
After each filing, replace and retune the string and measure its action at the nut before repeating if necessary until you reach your desired .030 inches or thereabouts.
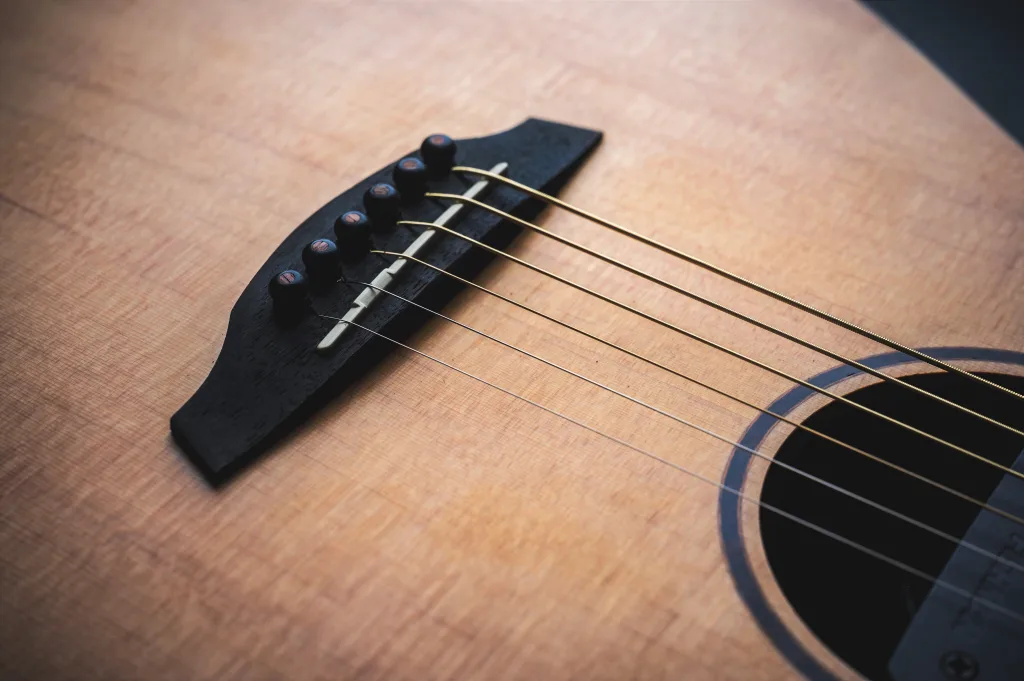
How To Lower The Action At The Bridge
To lower the action at the bridge, you should know that some guitars have adjustable bridges that require Allen wrenches, while others use shims under the saddle.
To adjust the action:
- Remove and sand down the saddle evenly.
- Use a vise or sand by hand.
- Once you’re done, put the saddle back, restring, and retune.
- Measure the action at the twelfth fret and repeat if needed. If you make a mistake, don’t worry, you can easily get a new saddle at an affordable price.
Don’t worry if you do sand unevenly or too far down on your saddle – they’re relatively inexpensive and easy to acquire.
What Causes High Acoustic Guitar Action?
Here are some common reasons for higher action on acoustic guitar:
Temperature And Humidity
Temperature and humidity can have a drastic effect on your instrument over time, so it’s important to keep an eye on both.
- High temperatures combined with low humidity can cause the wood of your guitar to become dry and brittle.
- Dryness in your guitar’s wood causes the action to increase making it harder to play chords or notes properly.
- High levels of humidity cause swelling in the wood which leads to increased tension on the strings raising action even higher.
String Tension Changes
Changing the gauge of your strings can cause an imbalance in tension, leading to difficult playing experiences. String tensions are affected by temperature and humidity, but changing string gauges may have a more immediate effect.
Changing the gauge of your strings causes a shift in string tension across the neck, which can increase or decrease relief. This is why adjusting the action on an acoustic guitar after changing string gauges is important.
Everyday Use Of Your Guitar
As we’ve discussed previously, changes in string tension can have a big influence on the action of an acoustic guitar. But that’s not the only factor to consider when adjusting your instrument’s action.
Normal use — or abuse — of your guitar can also play a role.
When you strum and pluck the strings on your acoustic guitar, you’re creating stress on its components that will gradually wear them down over time.
If you don’t take proper care of your instrument and maintain it regularly, it’s likely that the nut and saddle will eventually become worn out and need to be replaced or adjusted in order to bring back the original action of the strings. That being said, regular maintenance can help extend the life of these components so you don’t have to worry about adjusting them as often!
What Happens If Your Guitar Action Is Too Low?
Playing an acoustic guitar with low action can cause notes to buzz and rattle like loose change in a pocket, robbing them of their natural sound. Not only does it make the sound less pleasing, but it also diminishes the sustain of notes played.
This means they’ll die out more quickly than usual. In addition, fretting out can occur when there is too much interference between two frets on the same string due to too little space between them.
Fortunately, you can make your guitar sound better by adjusting either the truss rod or the height of the saddle, to raise the guitar action back up to its optimal level. Professional guitar technicians are capable of making these adjustments and restoring playability and tone for your instrument.
Conclusion
Adjusting the action on an acoustic guitar is all about finding that sweet spot for maximum playability.
By following the steps shared in this article, you can fine-tune your guitar to groove effortlessly with your style.
Remember to take it easy, make small tweaks, and measure your progress. With a little patience and experimentation, you’ll be strumming away on your perfectly adjusted acoustic guitar in no time. So go ahead, rock on and enjoy the satisfying playability of your instrument!
FAQ
Is there a risk of damaging my guitar if I adjust the action?
There is a risk of damage if you’re not cautious. Accidentally snapping off a tuning peg or loosening a saddle nut too much can cause harm to your instrument.
Adjusting the action of your acoustic guitar can be intimidating, but it doesn’t have to be risky. When done correctly, you can adjust the action without damaging your guitar.
How often should I adjust the action on my acoustic guitar?
We recommend that you check your guitar’s action every few months and make any necessary adjustments.
Is lowering the action on an electric guitar different from an acoustic one?
The logic is the same, but there are some key differences. If you want to adjust the action on an electric guitar, better check this guide.
